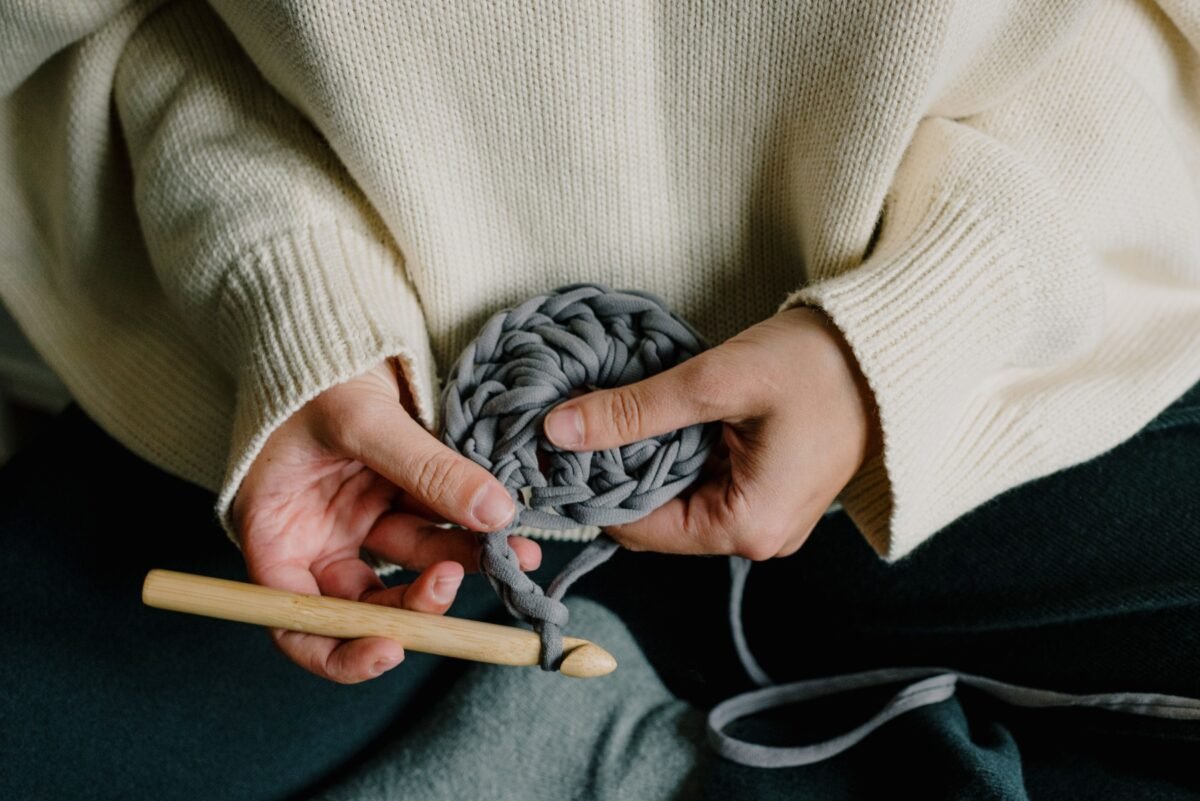
A coaster should support your cup, not curl around it. If you are wondering how to stop crochet coasters from curling, start by checking the shape and stitch count before reaching for a steamer. A bowl-shaped circle, a rippled edge, and a tight rectangular foundation can look similar at first, but they need different corrections.
This beginner troubleshooting guide helps you choose the next useful check. It covers ordinary crochet worked in rows or rounds, uses US crochet terminology, and includes a video demonstration for circular pieces. It is not a new coaster pattern or a claim that the pictured projects were made or repaired by Crovela.
Table of Contents
How to Stop Crochet Coasters from Curling: Start Here
For a round coaster that cups upward: check for missed stitches and increases. For a wavy circle, look for extra stitches. If your counts match the pattern, examine tension and hook choice. For slight unevenness after the construction is correct, follow the yarn label when choosing a finishing method.
When learning how to stop crochet coasters from curling, avoid changing the hook, adding increases, and blocking all at once. Try one correction, compare the result, and keep a short note. That makes the next coaster easier to troubleshoot.
Materials needed for the checks
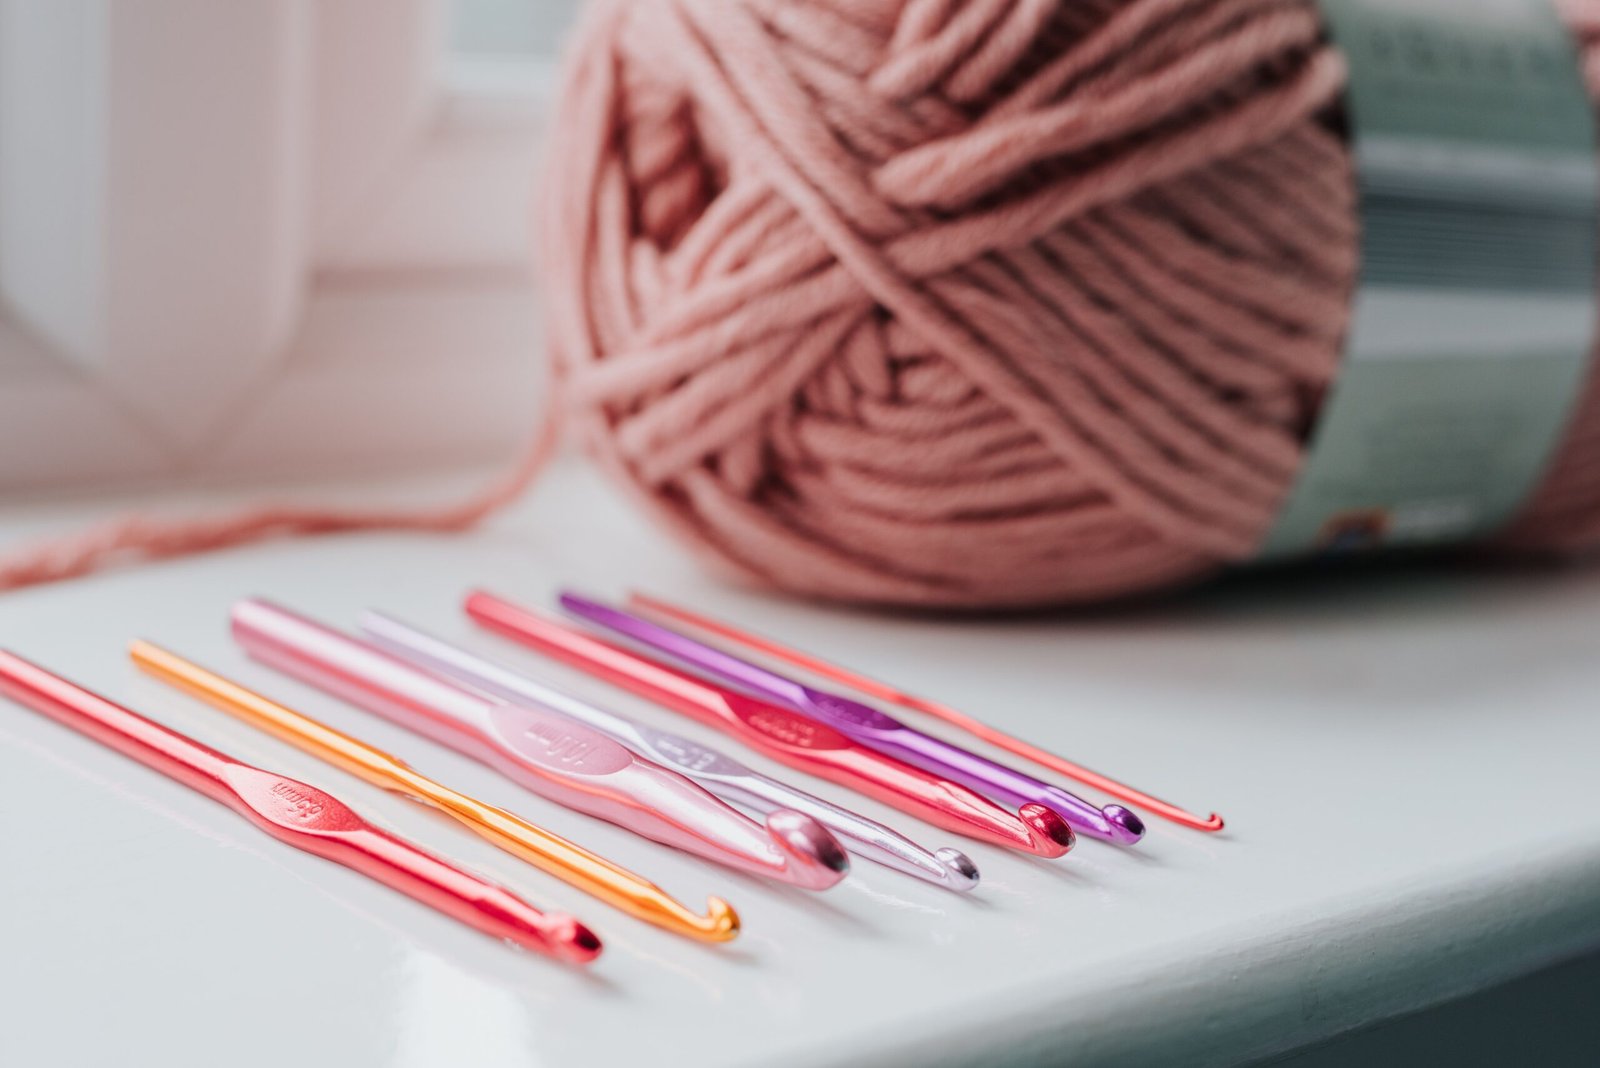
Keep your current coaster, its pattern, the yarn label, and the hook you used together. Add a removable stitch marker, a ruler or tape measure, and somewhere to record counts. If you need to undo work, keep the yarn attached until you know which round or row needs correction.
You can investigate how to stop crochet coasters from curling with a flat table and good light; specialist equipment is not the first requirement. A clean towel and rust-resistant pins may be useful later if your yarn permits blocking. You do not need to buy a blocking kit before checking whether a stitch was missed.
Step 1: describe what the coaster actually does
Lay it down without a cup on top. Release your hand and look from the side. Does the whole edge rise together, do individual waves run around the outside, or does only one side pull upward? Take a phone photo for your own comparison before undoing anything.
Your approach to how to stop crochet coasters from curling depends on the construction, so identify that next. A circle made in rounds needs a different count check from a square worked back and forth. If your pattern uses Tunisian crochet, look for guidance specific to that technique; the circular increase demonstration below is not a universal solution.
Step 2: How to Stop Crochet Coasters from Curling with Correct Counts
Find the last row or round you know was correct. Count slowly from its beginning marker and compare with the designer’s stated total. Read the instructions for turning chains and joining stitches rather than deciding by appearance which loops should count.
If the pattern expects 24 stitches and you count 23, write down the difference before continuing. Check where the missing stitch occurred. Adding an arbitrary extra stitch several rounds later may hide the total while leaving the earlier shape problem in place.
The Craft Yarn Council’s Crochet 911 reference explains that flat circular work requires increases according to the pattern and recommends counting to identify unwanted or missing stitches.
Step 3: use the video for round coasters
For a visual explanation of circular shaping, see How to Crochet a Flat Circle (Beginner-Friendly) + Fix Wavy & Bowl Shape Circles by Hall Lotta Fun. The creator’s chapter list identifies a flat-circle demonstration at 1:10, wavy-circle troubleshooting at 2:30, and bowl-shaped-circle troubleshooting at 4:00.
1:10 — Flat circle · 2:30 — Wavy edges · 4:00 — Bowl shape
Use the relevant section to understand the shape, then return to your own pattern’s numbers. The demonstration uses single crochet, weight 4 acrylic yarn, and a 5 mm hook. Those materials describe the video sample, not a required yarn-and-hook combination for your coaster.
Step 4: How to Stop Crochet Coasters from Curling with Even Tension
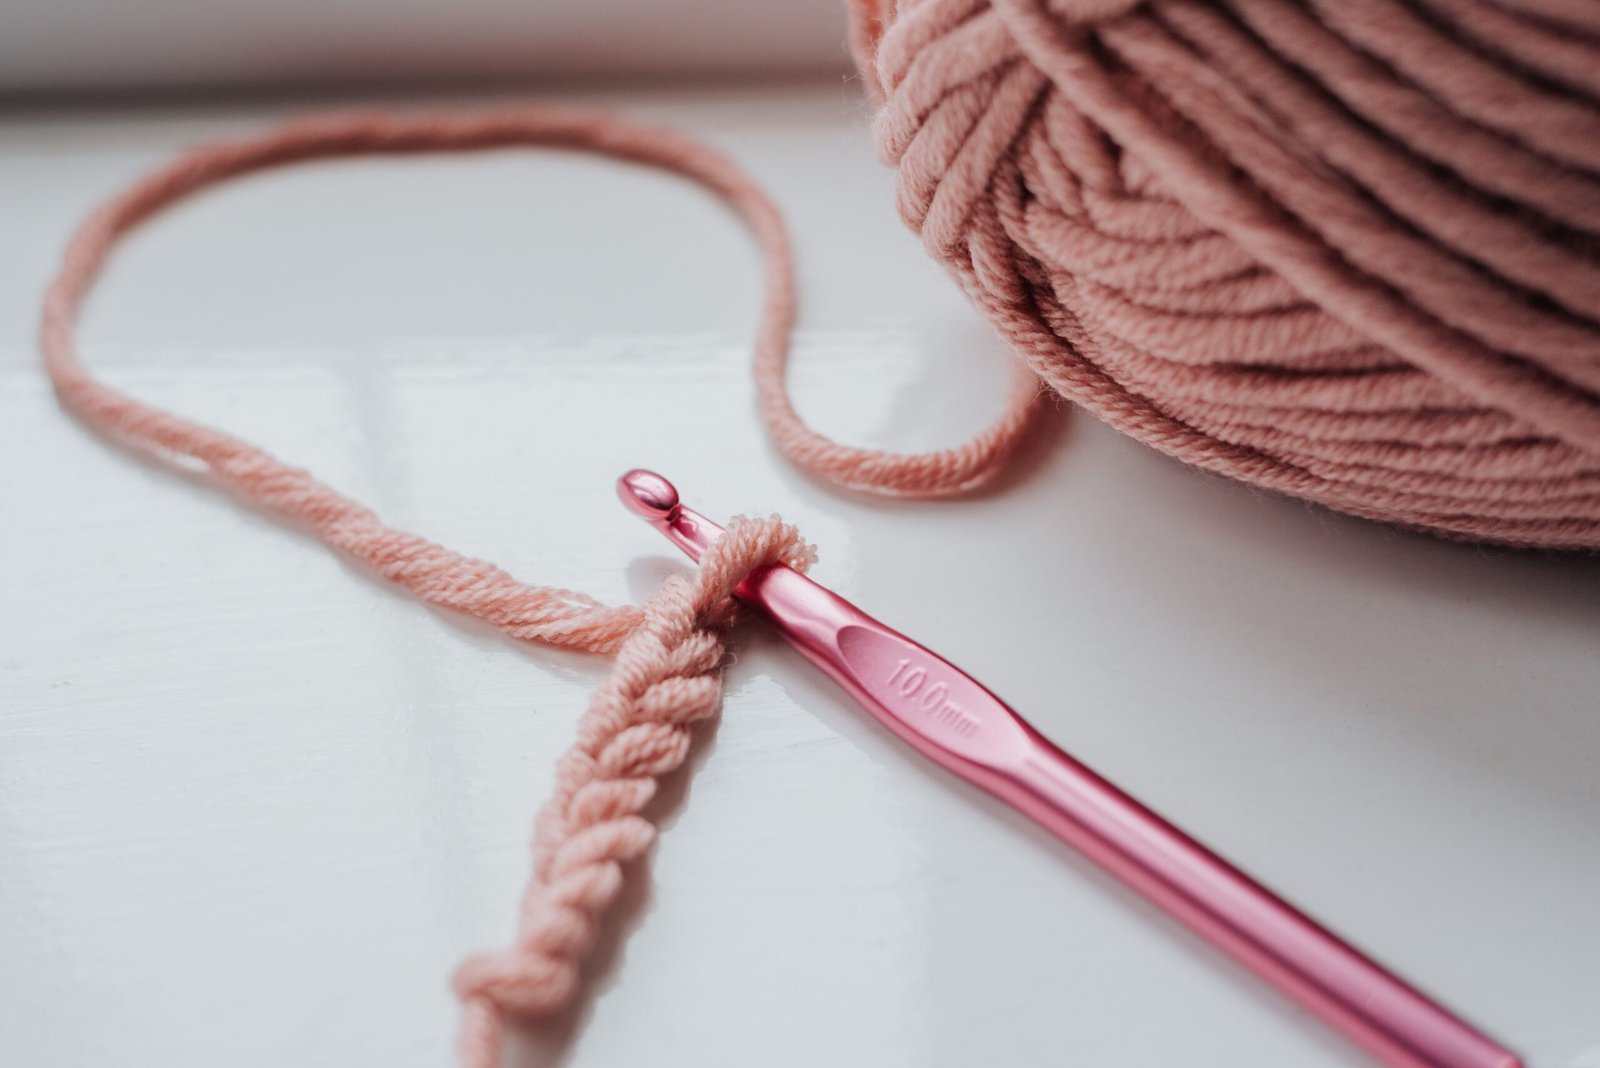
If the count is right, ask whether your stitches became noticeably tighter while working. Compare the most recent section with the earlier fabric. Also check that you used the same hook throughout; similar handles can conceal different sizes.
The Craft Yarn Council hook guide recommends millimeter sizing and comparing a swatch with the pattern gauge. A smaller-than-required swatch calls for testing a larger hook; a larger swatch calls for testing a smaller one.
Make the comparison on a small sample rather than changing tools halfway through the finished coaster. Keep the yarn and stitch pattern constant. Record the hook size and sample measurements so you can tell whether the adjustment helped.
Step 5: check a square coaster’s foundation and border
For a coaster worked in rows, inspect the starting edge separately from the final row. Is the foundation pulling the bottom inward? Does the piece widen gradually? Does it lie reasonably flat until a border is added? These observations help locate the part that needs attention.
To work out how to stop crochet coasters from curling when the problem begins at the border, review the edging instructions before undoing the entire coaster. Check corner placement and how stitches were distributed along the sides. A border should not be expected to compensate for a substantially incorrect body.
Take the same approach to a rectangular mug rug: note the first place the shape changes, compare the instructions, and correct that section. For related reading, explore our kitchen crochet articles.
Step 6: choose a finishing method for the actual fiber
Once you are satisfied with the construction, assess any remaining mild unevenness. Read the exact yarn’s care label. Do not assume that cotton, wool, acrylic, and blends can all be treated with the same temperature or moisture.
For suitable yarns, the Craft Yarn Council describes dampening or washing, removing excess water, and supporting the work flat while it dries. Its instructor guidance warns that excessive steaming can cause irreversible damage. Test a spare sample before applying unfamiliar treatment to the coaster.
Do not stretch the piece to a convenient diameter just because a pinning board has a matching circle. Follow the intended dimensions and let the fabric guide a gentle adjustment. Wait until it is completely dry before judging the result.
Check the finished coaster before making a set
After working through how to stop crochet coasters from curling, check the practical result: place your usual empty mug on the dry coaster on a flat surface. Check whether the base sits securely and whether the edges obstruct it. A decorative item that photographs well may still need adjustment before it is useful on a table.
Keep one successful coaster as a reference. Write its yarn, hook size, pattern version, counts, and finishing method on a small project card. Compare later coasters with it before fastening off. This simple record is more useful than trying to remember which variation worked.
Frequently asked questions
How to stop crochet coasters from curling after washing?
Wondering how to stop crochet coasters from curling after washing? Let the piece dry fully using a method allowed by the yarn label, then reassess its shape. If it still cups or ripples, check the construction and stitch counts. Finishing can improve mild unevenness, but it cannot replace correcting a significant shaping problem.
Should I always use a bigger hook?
No. Check counts and compare gauge first. Test a hook change on a sample instead of treating every curled edge as proof that the hook is too small.
Why does my circular coaster look like a bowl?
Review the increase instructions and look for missed stitches. If the numbers are correct, investigate gauge and tension before altering the pattern.
Are waves and curling the same problem?
They describe different shapes. A cupped circle rises around the edge; a ruffled one has excess-looking waves. Identify which you have before choosing a correction.
Can I press the coaster with an iron?
Do not use direct heat as a general shortcut. Follow the fiber’s care instructions and test an appropriate method on a spare swatch first.
Does the video apply to Tunisian crochet coasters?
It demonstrates ordinary single crochet worked in rounds. A Tunisian coaster needs technique-specific advice; do not transfer the video’s increase sequence to it.
How to Stop Crochet Coasters from Curling: A Quick Recap
This is how to stop crochet coasters from curling methodically: identify the shape, check counts, review gauge, and then consider suitable finishing. Change one thing at a time so you know which adjustment made a difference.
Want to build confidence before trying another coaster? Visit our beginner crochet articles or browse kitchen crochet projects. Tell us whether your coaster cups, ripples, or pulls along one edge—and which stitch you are using.
References and photo credits
Craft Yarn Council: Crochet 911; Hooks & Needles; Certified Crochet Instructors Program: blocking guidance. Video chapters and sample materials are supplied by Hall Lotta Fun in the linked YouTube description.
Featured photograph: Ksenia Chernaya / Pexels, Pexels License. Other image credits appear in their captions. These licensed photographs illustrate different projects and do not document a Crovela test.
2 comments