
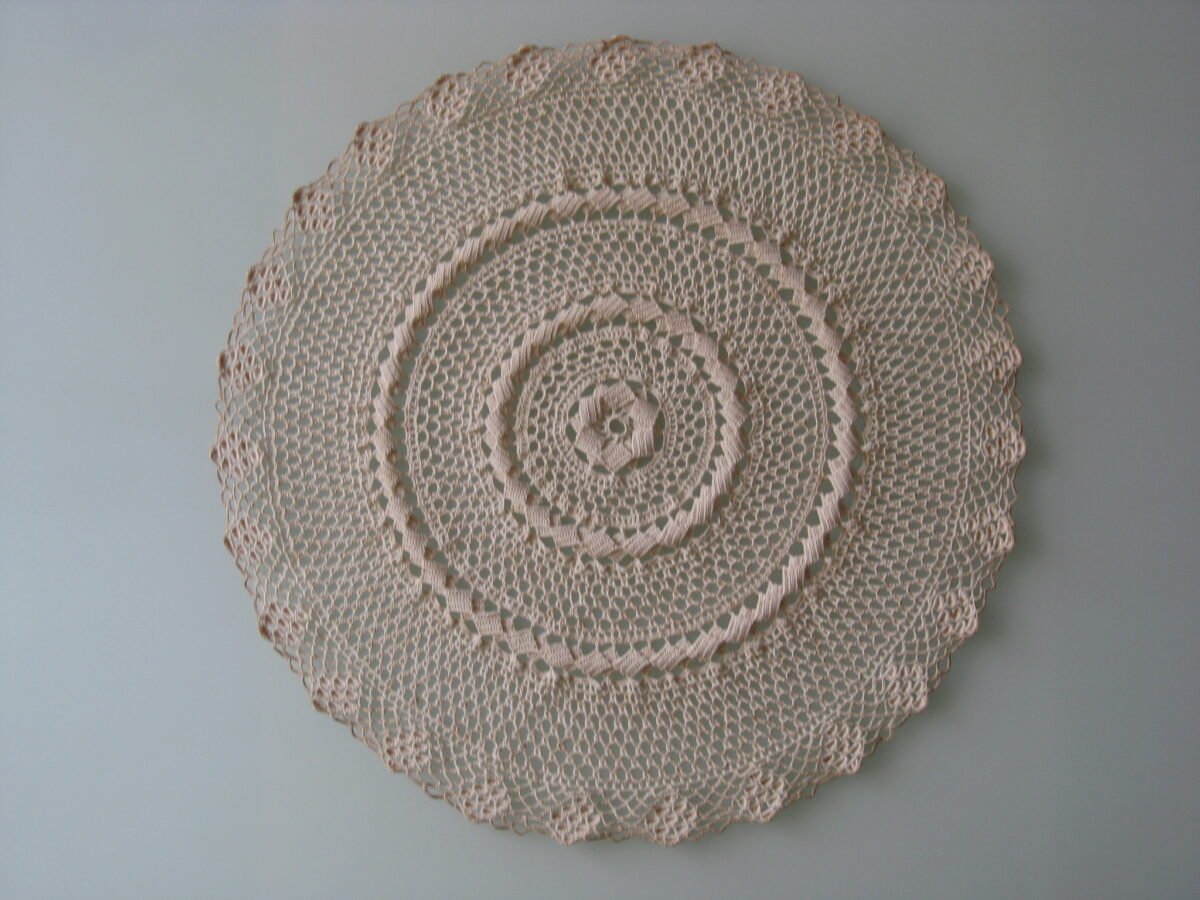
Learning how to block a crochet doily can feel like an extra project after the crocheting is finally finished. Your thread is woven in, the last round is complete, and yet the lace still looks a little crumpled. Before adding more stitches or reaching for an iron, give the fabric a careful look.
For a washable, colorfast cotton doily, gentle wet blocking is often a sensible starting point: introduce moisture, arrange the lace, and let it dry in position. This guide explains the decisions and checks involved. The photographs show separate real projects and supplies, not a claimed before-and-after test by Crovela.
Table of Contents
What Blocking Can—and Cannot—Fix
Blocking is a finishing process that helps reveal a fabric’s shape. It can make openwork easier to see and settle minor unevenness. It does not replace missing stitches, remove an extra repeat, or make a substantially incorrect stitch count disappear.
Set your doily on the table without stretching it. If it is mostly round but the points fold inward, finishing may help. If the center forms a deep bowl or the outer edge has dramatic waves, check the pattern first. Our guide to crochet coasters that curl explains why stitch count and tension deserve attention before you try to flatten a piece.
When deciding how to block a crochet doily, the fiber label comes before any general tutorial. Cotton thread, acrylic yarn, metallic blends, and an unidentified vintage textile should not all receive the same treatment.
Materials Needed
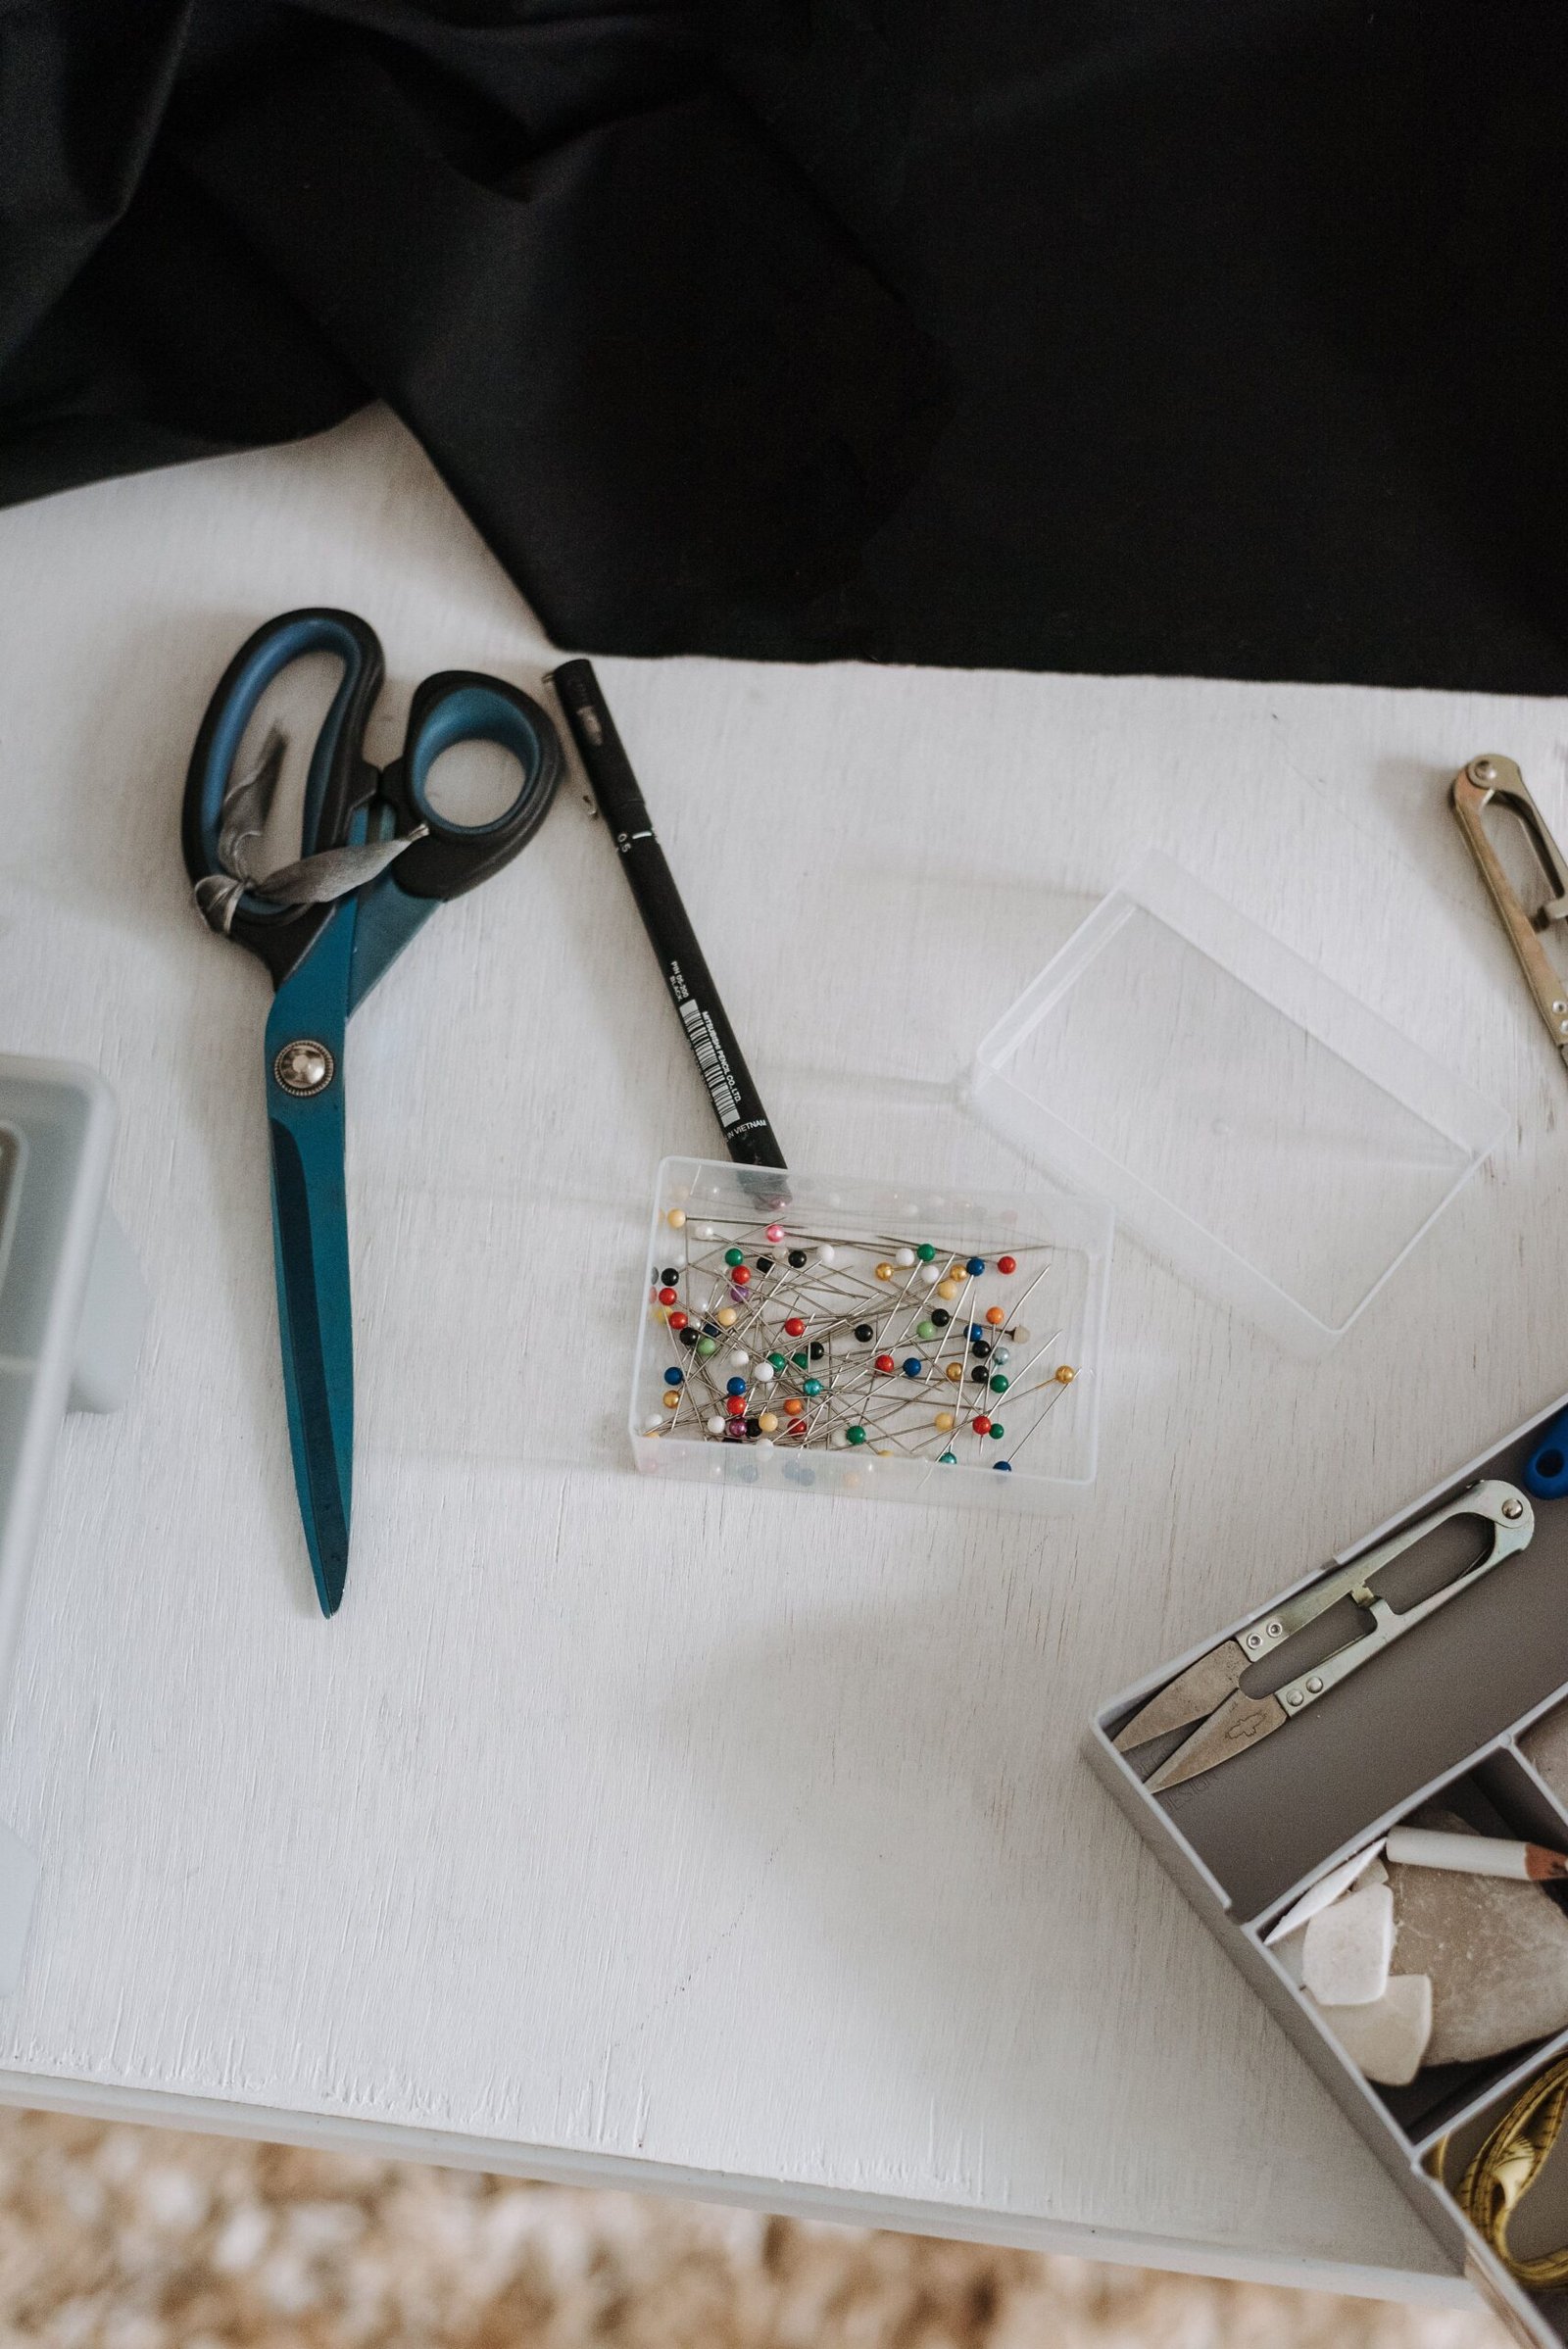
Gather a clean basin, cool water, a light-colored towel, a tape measure, and rustproof blocking pins. You also need a flat pin-friendly surface large enough for the complete doily. Keep the yarn label and the pattern’s finished measurements nearby.
A foam blocking mat is convenient, but the important features are a clean surface, enough support to hold pins, and somewhere the work can dry undisturbed. Protect furniture from moisture. Use a clean, colorfast covering; a brightly dyed towel that transfers color is an avoidable problem.
Scissors are useful for trimming securely woven ends before finishing, but they are not needed to stretch the lace. A spray bottle is optional for a gentle misting approach. Starch is also optional: shape and stiffness are different goals, so start by deciding which one you want.
Choose the Right Method for Your Thread
The WeCrochet blocking guide emphasizes checking the yarn’s washing and heat instructions. If the label rules out immersion, do not follow the soaking steps below. Test your chosen treatment on a spare sample when possible, especially with dark colors or a new fiber.
For a sound, washable cotton piece with stable colors, wet blocking lets you shape the damp fabric without direct heat. Spray blocking introduces less water, although it is not automatically safe for a thread that bleeds. For unknown or fragile heirlooms, identify the material and its condition before treating it; ordinary finishing advice is not a conservation method.
Heat adds another variable. Annie’s blocking lesson warns that careless heat can permanently alter synthetic yarn. The no-iron method here avoids that step. Do not assume a steamer is harmless simply because it does not touch the fabric.
How to Block a Crochet Doily: 6 Easy Steps
1. Inspect, Measure, and Test the Color
Finish weaving in loose tails and check for broken thread, loose joins, or an unfinished round. Measure across the center in more than one direction. Record the relaxed diameter and compare it with the pattern, if available. That gives you a reference rather than an invitation to pull until the numbers match.
Before deciding how to block a crochet doily with multiple colors, dampen a spare sample and press it against a clean white cloth. Visible color transfer is a reason to stop and seek care guidance. A quick test is useful, but it cannot guarantee that an unknown dye will behave during a longer soak.
2. Wet the Doily Gently
If the label permits washing and your color check raises no concern, place the piece in cool water and allow the thread to become evenly damp. Avoid scrubbing or stretching the lace under running water. If cleaning is needed, use a product and method allowed by the yarn’s care directions, then rinse as instructed.
Do not add bleach, homemade stiffener, or several cleaning products just because the doily looks old. For a first attempt at how to block a crochet doily, plain moisture and careful shaping keep the process easier to assess.
3. Lift and Blot Without Twisting
Support the wet fabric with both hands as you lift it. Press out excess water gently, then spread the doily on a clean towel. Fold the towel over it and press lightly. The aim is damp lace that you can arrange, rather than a dripping textile.
Avoid wringing the doily like a cleaning rag. Twisting concentrates force in a small area, which is particularly unhelpful around delicate joins. If the towel becomes soaked, use a dry one before moving the work to its blocking surface.
4. Find the Center and Pin Opposite Points
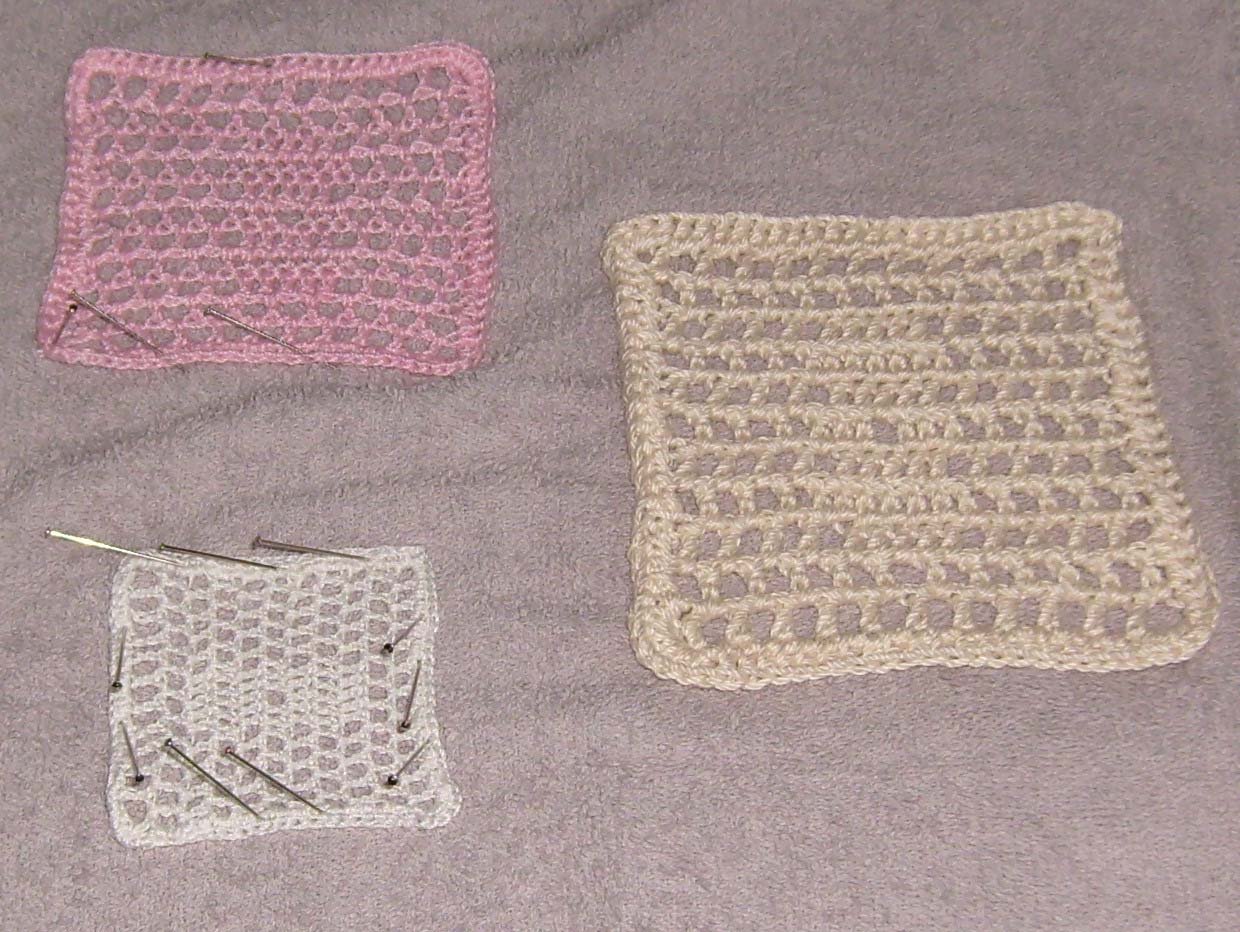
Lay the damp doily flat and locate its center. Smooth outward with your fingertips. On a round design, arrange one edge point and the corresponding point opposite it, then repeat across the other direction. Add the remaining sections gradually instead of pulling every point from one side.
The key to how to block a crochet doily evenly is comparison: check opposite sections as you work. Use the same structural point in each repeat, such as the tip of a matching scallop. A tape measure can help you compare the distance from the center without demanding that every handmade stitch be mathematically identical.
5. Support the Edge Without Overstretching
Add enough pins to support the intended outline. A long edge held by only a few pins can develop exaggerated points. Reposition pins if a smooth scallop starts to look jagged or if a chain space is being pulled much wider than its neighbors.
Pause and look from directly above. Are repeated motifs opening similarly? Is the center still aligned? If you need considerable force to keep the shape, ease the fabric back and investigate. The goal is a relaxed arrangement, not the largest diameter you can achieve.
6. Let It Dry Before Removing Pins
Leave the work somewhere with normal airflow, away from children and pets. Drying time depends on the thread, room conditions, and supporting surface, so use the fabric’s condition rather than a fixed timer. Check the center and denser motifs as well as the thin edge.
Once everything is dry, remove pins carefully and count them back into their container. Lift the doily and place it on a clean, dry surface. If a section still feels damp, let it finish drying before storage. Dampness trapped in a folded textile is not a useful shortcut.
Watch a Crochet Doily Blocking Demonstration
Prefer to see the hand movements? The video below is a separate creator’s demonstration of doily blocking. Compare its method with your thread’s care label before following along. The pictured doily and this video do not represent a Crovela-tested pattern or a shared project sequence.
Final Result: Look for Balance, Not Maximum Stretch
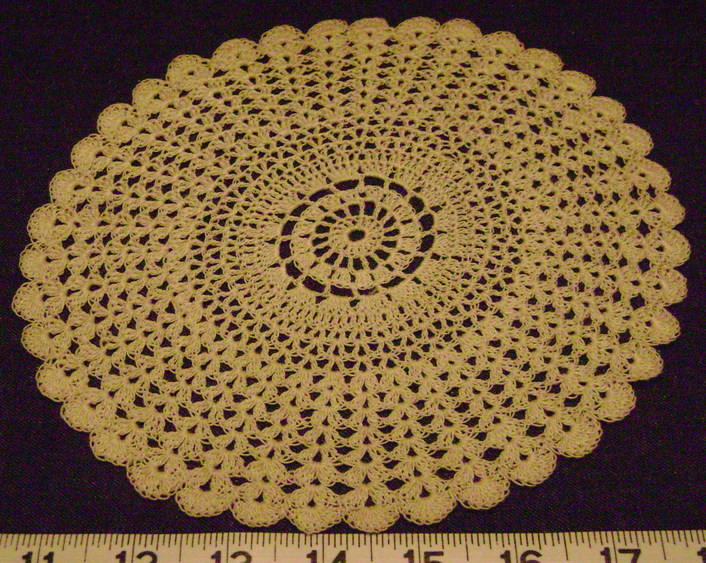
A useful result is lace that rests comfortably, with recognizable repeats and an edge that does not need your hand to hold it down. A small difference between the pattern’s measurement and your own piece can reflect gauge. Blocking should not be used to disguise a major construction error.
If you want a firmer display finish, treat stiffening as a separate decision after learning how to block a crochet doily. Follow a textile stiffener’s instructions and test compatibility first. Jonah’s Hands describes starching and pinning doilies, illustrating that decorative finishing can involve much more support than a few pins.
How to Block a Crochet Doily: FAQs
Do all crochet doilies need blocking?
Not necessarily. Check how the piece sits and what its pattern recommends. Open lace often benefits from shaping, while some textiles need little adjustment. A fiber that cannot tolerate your planned method should not be blocked that way.
Can I block a doily without a special board?
Yes, provided your alternative surface is clean, flat, protected from moisture, and able to hold pins securely. It must support the entire doily and remain undisturbed while it dries. Avoid a surface where pins can reach someone unexpectedly.
How long does a doily take to dry?
There is no reliable single time for every thread and room. Thin cotton lace may dry differently from dense motifs on a thick towel. Remove the pins only when the whole piece is dry, including its center.
Will wet blocking make the lace permanently stiff?
No. Moisture-based shaping and stiffening are different processes. A water-blocked doily can need reshaping after washing. For a rigid decoration, investigate a compatible stiffening product and test it on spare thread first.
Why is my doily still wavy after blocking?
Recheck repeat counts, increases, and tension. Uneven pin placement can also exaggerate the outline. If the fabric needed hard pulling to sit flat, investigate the construction rather than repeatedly stretching the same section.
Can I use an iron to flatten it faster?
Do not press an unknown thread or assume every cotton blend tolerates heat. Read the care label and test a sample. This guide uses no direct heat; rushing with an iron can change the texture or damage a delicate piece.
Give Your Lace a Careful Finish
Knowing how to block a crochet doily starts with identifying the thread and checking the stitches. From there, even moisture, balanced pinning, and patient drying can make finishing easier to control. Take a photo and note your measurements so you have a useful reference for the next wash.
Which part gives you trouble: uneven scallops, a raised center, or choosing the right method? Leave a comment, or browse our Home Decor articles for more ideas. For an article correction, contact info@crovela.net.
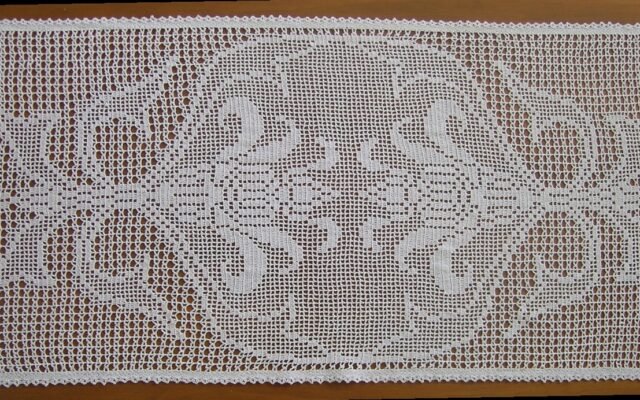
Featured doily photograph: רחל1 / Wikimedia Commons, CC BY-SA 4.0, unmodified. All four photographs are newly selected for this guide and show separate examples.
Comments